Hidden Key Cabinet: How to Build, Buy and Place One in Your Kitchen or Entry
Give your keys a home that looks like art. Build a picture-frame key cabinet in an afternoon, or choose the right ready-made type for your kitchen or entry.
Key takeaways
- Hang the cabinet where your keys already land, usually within a step or two of the door.
- Center it 57 to 60 inches from the floor so it reads as art rather than storage.
- Look for at least 1.5 to 2 inches of interior depth so car fobs fit with the door closed.
- A DIY picture-frame cabinet takes an afternoon and roughly $40 to $90 in materials.
- Label each hook and keep rarely used spares on a separate row.
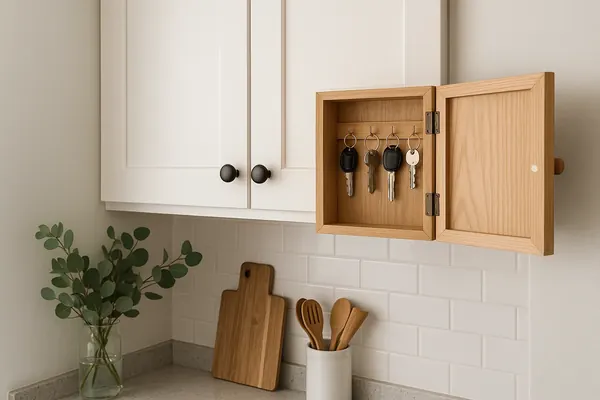
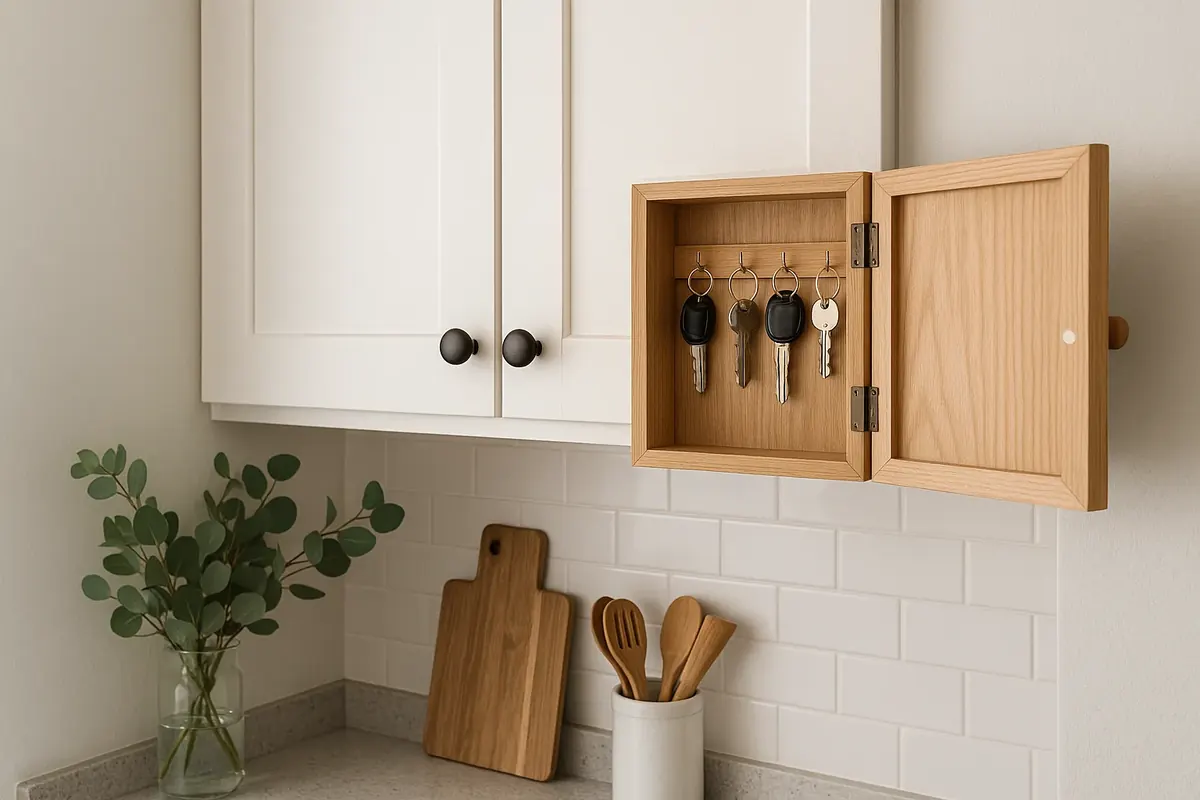
A hidden key cabinet is a small wall-mounted box with hooks inside and a front that disguises it: a framed print, a mirror, a chalkboard, or a door that matches your cabinetry. It gives keys a permanent home where you actually drop them (often the kitchen in an apartment, since it sits right by the door) without leaving a jangling row of hooks on display. It also keeps spare keys out of sight of anyone glancing through a window or an open door.
This guide covers where to put one, the types you can buy, a complete DIY build with a cut list and step-by-step instructions, renter-friendly ways to hang it, and a few other key storage ideas for when a cabinet is not the right fit. Plan on an afternoon for the DIY version and roughly $40 to $90 in materials.
Why Put a Key Cabinet in the Kitchen?
Key organization works when it follows your habits instead of fighting them. In many apartments, the front door opens straight into or beside the kitchen, so the counter becomes the default landing spot for keys, mail and sunglasses. A cabinet mounted on the wall right next to that landing spot catches everything before it reaches the counter.
- It matches the path you already walk. If you always end up in the kitchen when you get home, that is where your keys should live.
- It clears the counter. Keys, fobs and spare sets are some of the most common bits of counter clutter.
- It hides spares. Spare apartment keys, mailbox keys, storage locker keys and bike-lock keys can all live inside, labeled, rather than in a junk drawer.
- It looks intentional. A framed print or a slim cabinet painted to match the walls reads as decor, not storage.
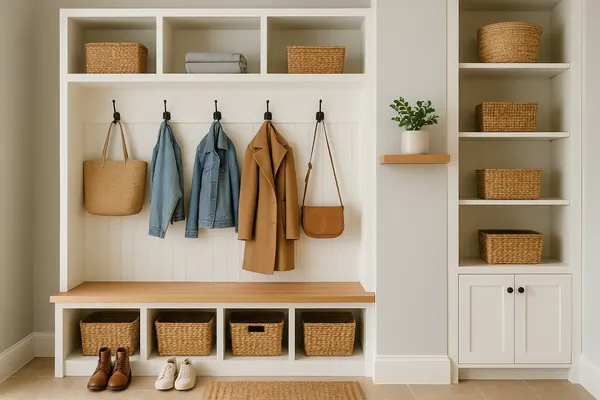
If your entry has its own wall or closet, the same cabinet works there too. Pair it with the drop-zone ideas in our guide to mudroom organization for a complete landing area.
Where Should You Hang a Hidden Key Cabinet?
Placement matters more than style. Pick a wall you pass within arm's reach of every time you come in, ideally within a few steps of the door.
| Spot | Pros | Watch out for |
|---|---|---|
| Kitchen wall nearest the entry | Catches keys before they hit the counter | Keep away from the stove's heat and splash zone |
| End of a cabinet run | Can be painted to match cabinetry | Needs enough clearance for the door to swing |
| Inside a pantry or tall cabinet door | Completely invisible, no wall holes | Less convenient on a busy morning |
| Entry wall beside the light switch | Natural reach point | Avoid lining it up with a window facing the street |
| Inside a coat closet | Fully hidden | Easy to forget if you do not use the closet daily |
Hang the cabinet so its center sits around 57 to 60 in. (145 to 152 cm) from the floor, the same height used for hanging art. That keeps it at eye level and makes it read as a picture rather than a box. If you are hanging it beside other frames, our art hanging calculator works out the nail height and spacing.
Designer tip: If the cabinet has an art front, choose a piece that relates to the kitchen, such as a botanical print, a vintage food illustration or a black-and-white photograph. It should look like you hung art there on purpose.
Types of Hidden Key Cabinets You Can Buy
If you would rather not build one, there are several types of ready-made key cabinets. Prices below are typical ranges for each type, not specific products.
| Type | How it hides keys | Typical price range | Best for |
|---|---|---|---|
| Picture-frame cabinet | Hinged frame with art or a photo on the front | $30–$90 | Kitchens and entries where you want it to read as art |
| Mirror cabinet | Hinged mirror front | $40–$120 | Entryways; doubles as a last-look mirror |
| Chalkboard or corkboard cabinet | Writable or pin-up front | $30–$80 | Busy households that want a message center |
| Slim wooden key box | Solid wood door, often with a small shelf on top | $25–$70 | Rustic, Scandinavian or Japandi interiors |
| Locking metal key cabinet | Steel box with a key or combination lock | $30–$100 | Spare keys, rental units, shared homes |
| In-cabinet key rack | Hook strip mounted inside a cabinet door | $10–$25 | Renters who want zero wall holes |
What to check before you buy
- Interior depth: At least 1.5 to 2 in. (4 to 5 cm) so bulky car fobs and key rings fit without the door bulging.
- Number of hooks: Count your key sets and add two or three spare hooks.
- Door closure: A magnetic catch keeps the door flush. Loose doors swing open and give the trick away.
- Mounting: Keyhole slots or a French cleat are easier to hang level than sawtooth hangers.
- Finish: Match your hardware or frame finishes so the cabinet blends in.
DIY Key Cabinet: Materials and Cut List
This DIY key cabinet is a shallow wooden box with a picture-frame door. Finished size is about 12 x 16 in. (30 x 41 cm) and 2.5 in. (6 cm) deep, which holds eight to ten key sets plus a small top shelf for sunglasses or a pen. You can scale it up or down; just build the box to fit the frame you choose.
Materials
- One 11 x 14 in. picture frame with about a 1 in. wide molding (outside size roughly 13 x 16 in.). Use a sturdy wood frame, not a thin plastic one.
- One 1x3 board, 6 ft. long, in select pine or poplar (actual size about 3/4 x 2 1/2 in.)
- One piece of 1/4 in. plywood, at least 12 x 16 in., for the back
- Two small brass or black butt hinges (1 to 1.5 in.) with screws, or a 12 in. piano hinge
- One small magnetic catch
- Eight to ten small cup hooks or screw-in hooks
- Wood glue and 1 1/4 in. brad nails or finishing nails
- Sandpaper (120 and 220 grit), primer and paint or stain
- A 12 in. aluminum French cleat or two keyhole hangers, plus wall anchors rated for at least 20 lb.
- Art print sized to the frame, or the frame's own glass with a photo
Cut list (from the 1x3)
| Part | Quantity | Length |
|---|---|---|
| Box sides | 2 | 16 in. (match the frame's outside height) |
| Box top and bottom | 2 | 11 1/2 in. (frame's outside width minus 1 1/2 in.) |
| Optional shelf | 1 | 11 1/2 in., ripped to about 2 in. deep |
| Back panel (1/4 in. plywood) | 1 | 13 x 16 in. (match the box's outside size) |
Measure your actual frame before cutting. The box should match the frame's outside dimensions so the door closes flush with no overhang.
Tools: a saw (a miter box and hand saw is fine), drill and bits, hammer or brad nailer, clamps, square, tape measure and screwdriver. If you do not have a saw, many home improvement stores will make straight cuts for you.
How to Build a DIY Key Cabinet Step by Step
- 1. Assemble the box. Glue and nail the top and bottom pieces between the two sides to form a rectangle. Check the corners with a square and clamp until the glue sets.
- 2. Add the shelf. Glue and nail the optional shelf about 3 in. below the top, set back so it sits flush with the rear edge.
- 3. Attach the back. Glue and nail the 1/4 in. plywood to the back of the box. The back keeps the box square, so take care to line up the edges.
- 4. Sand and finish. Sand everything with 120 grit, then 220. Paint the box the same color as your wall (so it disappears behind the frame) or stain it to match the frame. Let it dry fully.
- 5. Prepare the frame. Remove the glass if you want a lighter door, or keep it for protection. Mount your art and secure the backing.
- 6. Hang the door. Lay the box on its back, set the frame on top, and line up the edges. Mark hinge positions about 2 in. from the top and bottom on one side. Pre-drill small pilot holes and screw the hinges to the side of the frame and the box.
- 7. Install the catch. Mount the magnetic catch inside the box on the side opposite the hinges, with the strike plate on the back of the frame. Test that the door closes flush.
- 8. Add hooks. Mark two rows of hooks on the back panel, spaced about 2 to 2.5 in. apart so fobs do not tangle. Pre-drill and twist the hooks in. They should be short enough not to touch the closed door.
- 9. Mount the cleat. Screw one half of the French cleat to the back of the box near the top and the other half to the wall into a stud or appropriate anchors. Lift the cabinet onto the cleat.
Label each hook with a small brass tag or a printed label inside the door so everyone knows where each set lives. For more weekend projects in this spirit, browse our DIY home decor ideas.
Renter note: Most leases allow small nail holes for art, and a cabinet this size usually counts. If you want to avoid holes entirely, mount a key rack inside a cabinet or pantry door with removable adhesive strips rated for the weight, or set the cabinet on a narrow shelf you already have. Do not rely on adhesive strips alone for a wall-hung cabinet holding several sets of keys.
Hidden Key Holder Ideas Without a Cabinet
A full cabinet is not the only option. If your space or lease does not suit one, these hidden key holder ideas keep keys organized and out of sight.
- Inside a cabinet door: A small hook strip on the inside of the cabinet door nearest the entry is invisible and drill-free with adhesive hooks.
- A lidded box on the counter or console: A wood, stone or leather box with a lid hides keys and looks like decor. Choose one big enough for wallets and sunglasses too.
- A dedicated drawer: Line the top drawer nearest the door with a divided tray: keys, fobs, mailbox key, sunglasses.
- A shelf with a hook rail underneath: Mount a short floating shelf with small hooks on the underside. Keys hang below the shelf edge where they are hard to notice, and the shelf holds a plant or small art.
Entryway Key Organization: Building a System That Sticks
The cabinet is only half the solution. Entryway key organization works when there is one obvious place for everything you carry in and out.
Give every set its own hook
Assign hooks by person or purpose: one per household member, one for the car, one for spares. Labels prevent the slow creep of three sets piling onto one hook.
Keep spares separate
Spare keys you rarely use (a friend's apartment, a storage unit, a bike lock) go on a separate row or in a small labeled envelope inside the cabinet. That way the daily hooks stay uncluttered.
Plan for the rest of the drop
Mail, sunglasses, earbuds and a wallet all arrive with your keys. A small shelf inside the cabinet, a tray on a nearby console, or a wall pocket for mail next to the cabinet keeps all of it in one zone. If your kitchen doubles as an entry, our guide to apartment kitchen ideas has more on keeping counters clear.
Think about car fobs
Some car thefts involve relaying the signal from a keyless entry fob kept close to the front door. If you have a keyless fob, consider hanging it farther from the door or keeping it in a signal-blocking pouch inside the cabinet. Check your car maker's guidance for your specific model.
How to Make a Key Cabinet Blend Into Your Decor
The point of a hidden key cabinet is that nobody notices it. A few styling choices make sure of that.
- Paint the box the wall color. Only the frame stands out, so it reads as art.
- Match the frame to other frames. If you have black frames elsewhere in the room, use black here too.
- Use real art. A good print in a proper mat looks far more convincing than a generic sign.
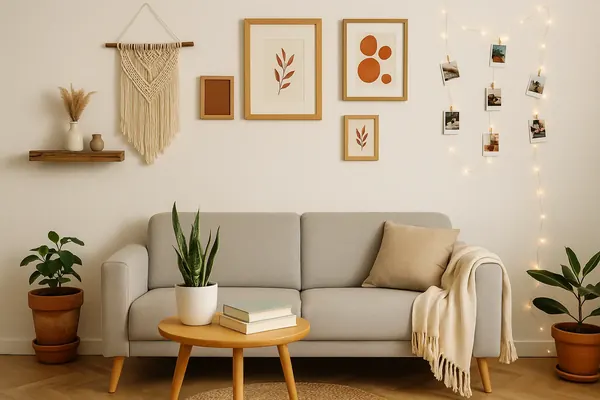
- Group it. Hanging the cabinet as part of a small grouping of two or three frames makes it disappear completely.
- Repeat your metals. Hinges and hooks in the same finish as your cabinet hardware tie it in.
Small, considered touches like this are what make a rental feel finished. You will find more in our roundup of renter friendly upgrades.
Your Next Steps
Start by noticing where your keys land for a few days. That spot tells you where the cabinet should go. Then decide whether to buy or build: buy if you want it up this week, build if you want it to match your frames and fit your key collection exactly. Either way, add a few spare hooks, mount it at eye level near the door, and label every hook. For more space-saving ideas, see our guide to small apartment ideas.
Frequently Asked Questions
Where is the best place to hang a key cabinet?
Hang it on a wall you pass every time you come home, within a few steps of the front door. In many apartments that is the kitchen wall nearest the entry. Center it about 57 to 60 inches from the floor, keep it away from the stove, and avoid lining it up with a street-facing window.
How deep should a key cabinet be?
Aim for at least 1.5 to 2 inches of interior depth. That leaves room for bulky car fobs and large key rings without the door bulging open. If you want a small shelf for sunglasses or a pen, build or buy one closer to 2.5 inches deep.
How do you hide keys in an apartment without drilling?
Mount a hook strip inside a cabinet or pantry door with removable adhesive hooks, use a lidded box on a console, or dedicate a drawer with a divided tray. Avoid hanging a loaded key cabinet on adhesive strips alone, since the weight and repeated door opening can pull it off the wall.
How much does it cost to make a DIY key cabinet?
A simple picture-frame key cabinet typically costs about $40 to $90 in materials, including a wood frame, a pine or poplar board, a plywood back, hinges, a magnetic catch, hooks and a French cleat. Costs rise if you buy a larger custom frame or need to buy tools.
Is it safe to keep car keys near the front door?
Keeping keys out of sight is sensible. For keyless entry fobs, some thefts involve relaying the fob's signal from inside the home, so consider storing the fob farther from the door or in a signal-blocking pouch. Check your car maker's guidance for your model.

We research designer standards, measure real rooms and test every recommendation against apartment realities: tight footprints, lease rules and budgets. How we write our guides.