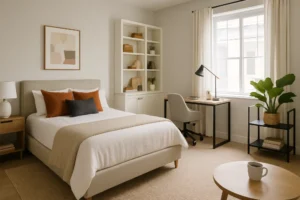
There’s something about DIY bedroom fairy lights that instantly changes the mood of a room. Soft, glowing strands wrapping around your walls, framing your headboard, or cascading from the ceiling create an atmosphere that’s both inviting and imaginative. Whether you’re designing a cozy retreat for yourself or adding charm to a guest room, DIY bedroom fairy lights give you control over style, placement, and mood.
The beauty is in the details. You don’t just buy a set of lights and plug them in—you craft an experience. You decide how the glow falls across your bedspread, how the colors play with your wall paint, and how the arrangement draws the eye. And because these are DIY bedroom fairy lights, they can be as simple or elaborate as you want. The best part? You can create a high-end look without spending a fortune.
In this guide, we’ll break down why they work so well, how to choose the right set, creative design ideas, installation tips, and even ways to make them last longer. By the end, you’ll be ready to light up your space in a way that’s uniquely yours.
Why DIY Bedroom Fairy Lights Work So Well
Fairy lights aren’t just decor—they’re mood shifters. They take an ordinary room and give it personality. Here’s why they’re such a favorite:
- They add depth to your room’s design without crowding the space.
- They can serve as both functional lighting and decorative elements.
- They’re affordable, making them perfect for budget-conscious makeovers.
- They allow for unlimited customization based on your mood or the season.
When you make it a DIY project, you gain even more control. You can adjust the brightness, choose the color tone, mix them with other decor, and position them exactly where they’ll shine—literally.
Choosing the Right Fairy Lights
Not all fairy lights are created equal. The type you choose will shape the overall effect of your project.
Bulb Types
- LED lights: Energy-efficient, long-lasting, and cool to the touch.
- Incandescent lights: Warm glow but use more energy and generate heat.
Light Colors and Effects
- Warm white: Cozy and soft—great for bedrooms.
- Cool white: Crisp and modern.
- Multi-color: Fun and vibrant for playful or themed spaces.
- Effects: Steady, twinkle, fade, or combination settings.
Power Options
- Battery-operated: Portable and flexible placement.
- Plug-in: Reliable for long-term displays.
- USB-powered: Convenient if you have multiple devices with ports.
Length and Brightness
Measure before you buy. It’s easy to underestimate how much length you’ll need to achieve your design idea.
| Factor | Recommendation |
|---|---|
| Small headboard wrap | 6–10 feet |
| Photo wall display | 10–20 feet |
| Canopy draping | 20–30 feet |
| Full wall outline | 30+ feet |
Essential Tools and Materials
Before you start, gather everything you’ll need so the process is smooth.
- String lights (LED recommended)
- Hooks or adhesive strips
- Transparent tape or wire clips
- Extension cord (if plug-in)
- Optional: flowers, ribbons, photo clips, mason jars, or fabric for layering
Tip: Adhesive hooks work best for renters since they don’t damage walls.
Creative DIY Ideas for Bedroom Fairy Lights
This is where the fun begins. You can go minimal or create something completely immersive.
Photo Clip Fairy Light Wall
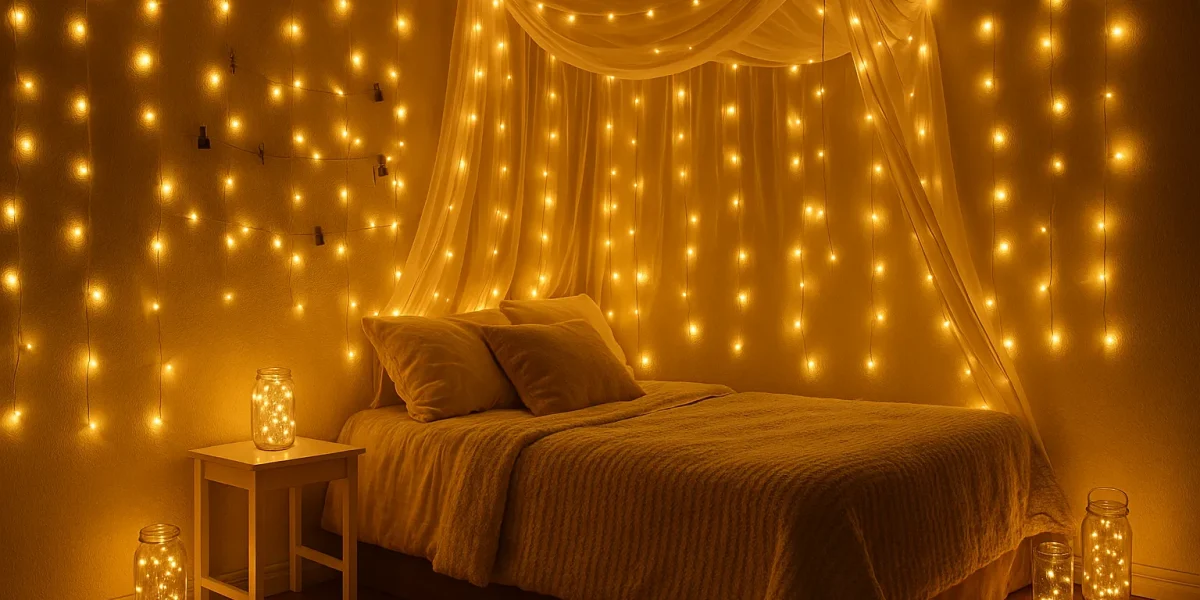
Attach small photo clips to your lights and hang your favorite snapshots. It becomes both a lighting feature and a memory wall. Best for: personal, intimate spaces.
Canopy-Style Bed Draping
Drape lights along a canopy frame or from the ceiling over your bed. It creates a dreamy, romantic effect perfect for winding down at night.
Mason Jar or Lantern Glow
Fill jars or lanterns with fairy lights for soft tabletop lighting. Ideal for adding a rustic or boho vibe to your room.
Fairy Light Headboard
Wrap lights around your headboard frame or run them along the back to create a glowing outline. Works especially well with wood or metal frames.
Wall Art with Lights
Shape the lights into patterns, outlines of city skylines, or even inspirational words. Use small adhesive hooks to guide the design.
Step-by-Step Guide: Installing DIY Bedroom Fairy Lights
Step 1: Plan Your Layout
Decide where the lights will go and measure the space. Sketching it out helps you visualize.
Step 2: Test the Lights
Before hanging them, plug them in or power them up to ensure they work.
Step 3: Secure the First Anchor Point
Start at the power source if plug-in, or at the focal point of your design if battery-operated.
Step 4: Continue Hanging
Use hooks, clips, or tape to hold the lights in place. Avoid stretching the wire too tightly.
Step 5: Adjust for Even Glow
Step back and check for areas that look too crowded or too sparse. Adjust before finalizing.
Safety Tips for DIY Bedroom Fairy Lights
- Avoid overloading power outlets.
- Keep lights away from curtains, bedding, or paper decorations to prevent overheating.
- Use lights labeled for indoor use only.
- Check wires regularly for signs of wear.
If you’re using battery-operated lights, remove the batteries if you won’t be using them for a while to prevent corrosion.
Making Your Fairy Lights Last Longer
Fairy lights can be surprisingly durable if cared for properly.
- Dust them regularly with a dry microfiber cloth.
- Store them loosely wound to avoid damaging the wires.
- Replace bulbs or sections as soon as they burn out to prevent strain on the rest.
Budget Tips and Sourcing Ideas
Want a stunning setup without overspending?
- Buy during post-holiday sales—fairy lights are often heavily discounted in January.
- Repurpose old string lights from holiday decorations.
- Mix and match short strands instead of buying one long set.
- Check local thrift stores for vintage lanterns or jars to pair with your lights.
Comparison example:
| Setup | Average Cost | Lifespan |
|---|---|---|
| LED plug-in | $12–$20 | 5–7 years |
| Battery-operated | $8–$15 | 1–3 years |
| Decorative lantern + lights | $15–$25 | 3–5 years |
Final Thoughts
Creating DIY bedroom fairy lights isn’t just about decorating—it’s about designing an atmosphere that feels like yours. With the right tools, a little planning, and a spark of creativity, you can turn an ordinary room into a personal retreat.
Whether you go for a soft glow over your bed, a photo-lit memory wall, or a cascading canopy effect, your project will carry your signature style. And that’s the magic of it—you’re not just hanging lights, you’re shaping an experience.
So grab a strand, find your vision, and let your space glow.

